| the
Weekly Whiffle
Wayfarer news of all kinds Special Edition a trip to the boat refurbisher's proverbial candy store with Wanderer sailor, Jonathan Daniel |
| Monday 12
December 2022 |
|
From
Jonathan Daniel [mailto:jdaniel1000@yahoo.co.uk]
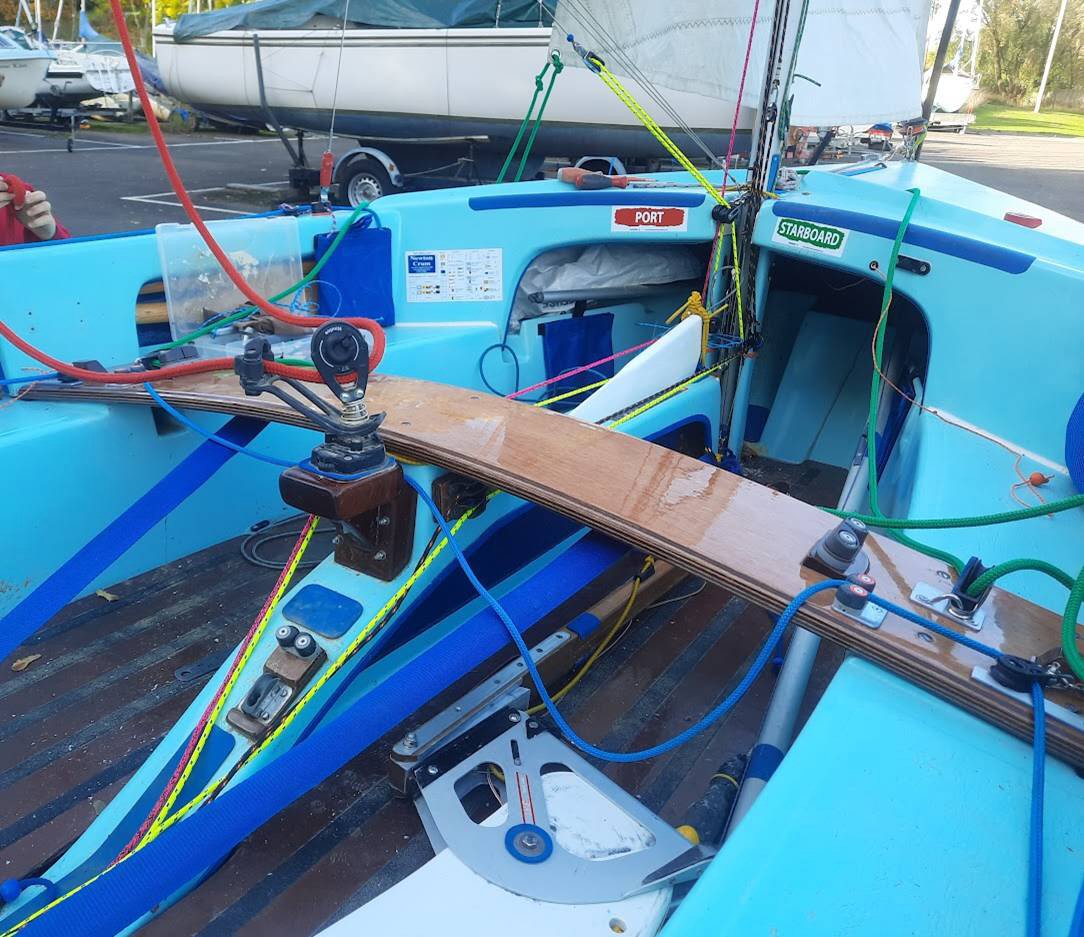
I regularly use the resources on the Wayfarer Institute of Technology website, thank you for this incredible resource. I sail a Wanderer dinghy, which is basically a smaller, lighter Wayfarer. The layout and equipment are largely the same (images attached). We've come up with some interesting solutions to things such as trailer, mast step reinforcement, lifting tiller etc. that would likely be relevant to your readers, and we have shared with Wayfarer sailors here in England. Would you like me to send you this information for the site? ... Many thanks, Jonathan Daniel
|
There has been at least one Wanderer sold
to North America Richard Watterson sailed it solo in the 2013 Chesapeake Cruise. |
|
|
|
From: Jonathan Daniel
[mailto:jdaniel1000@yahoo.co.uk]
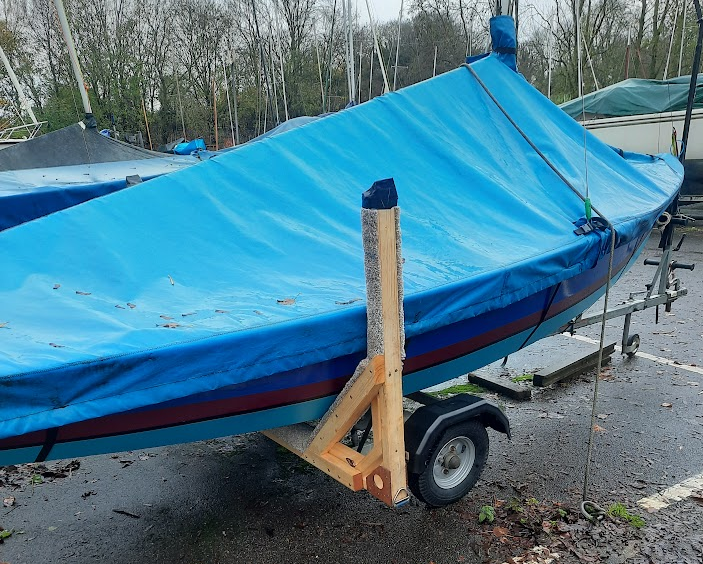
Another one that may be useful. Having got tired of trying to align the keel with the centre rollers in waves and crosswinds, we added this to our trailer. Now we just pull the boat on and attach the bow. It's just construction timber coated with epoxy and bolted to the bottom of the trailer. We use pipe insulation, cut in half longways on the timber then cover it in carpet. The supports just touch the hull, but the timber is flexible enough to allow the cover to slide down the sides. Jonathan Daniel |
|
Sent: Wednesday, November 30,
2022 6:45 AM
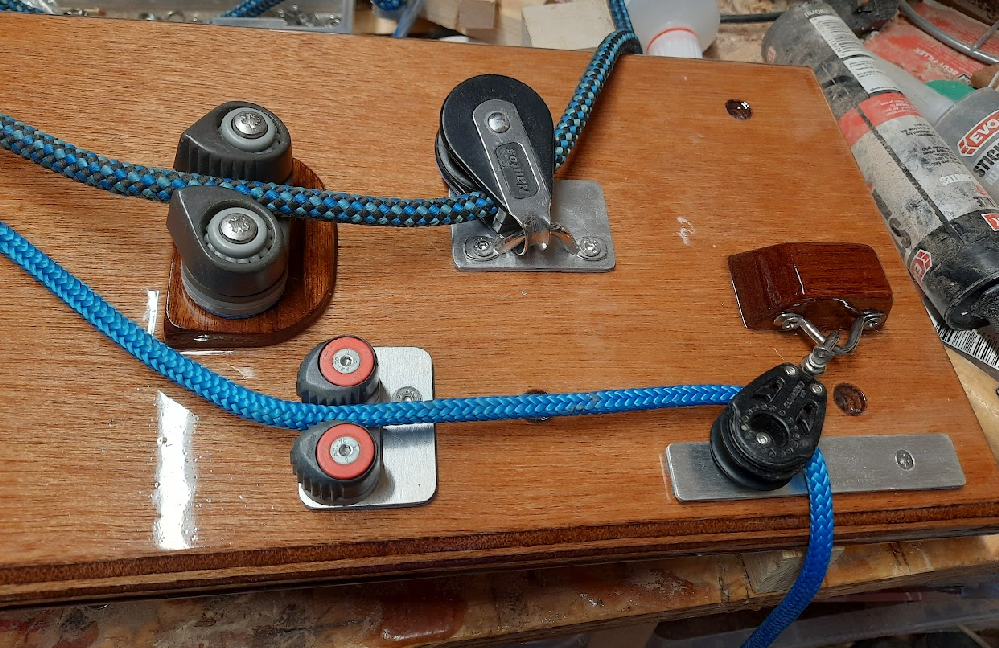
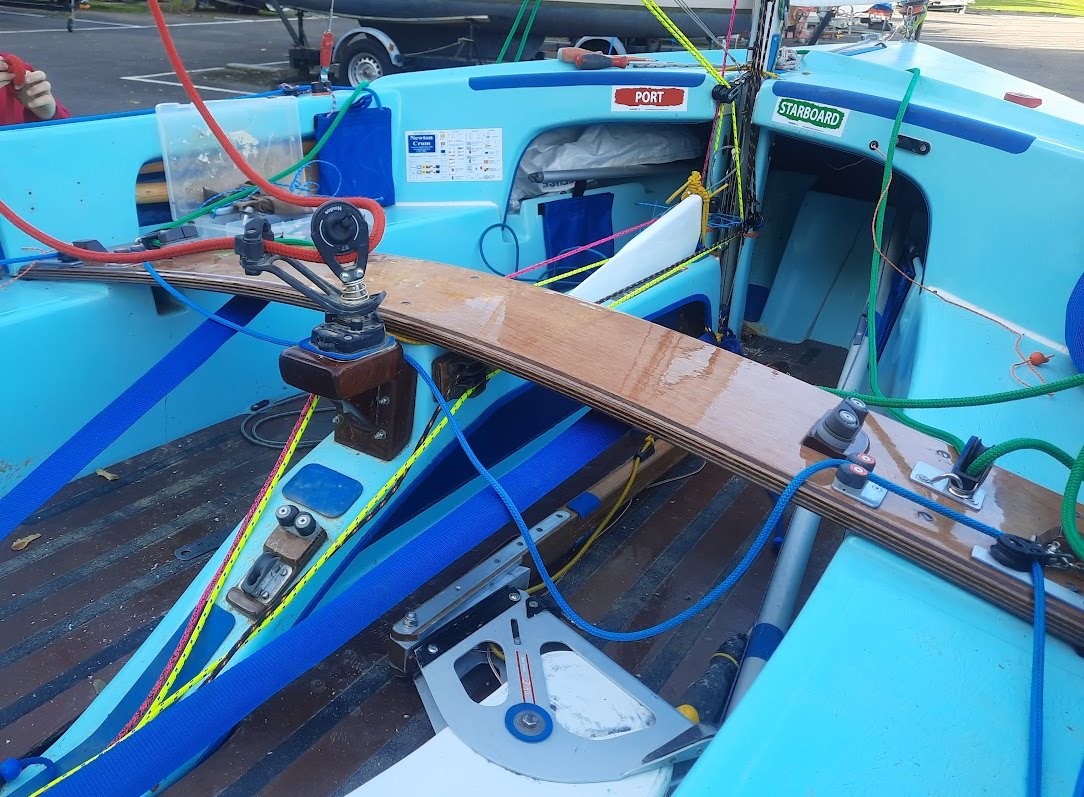
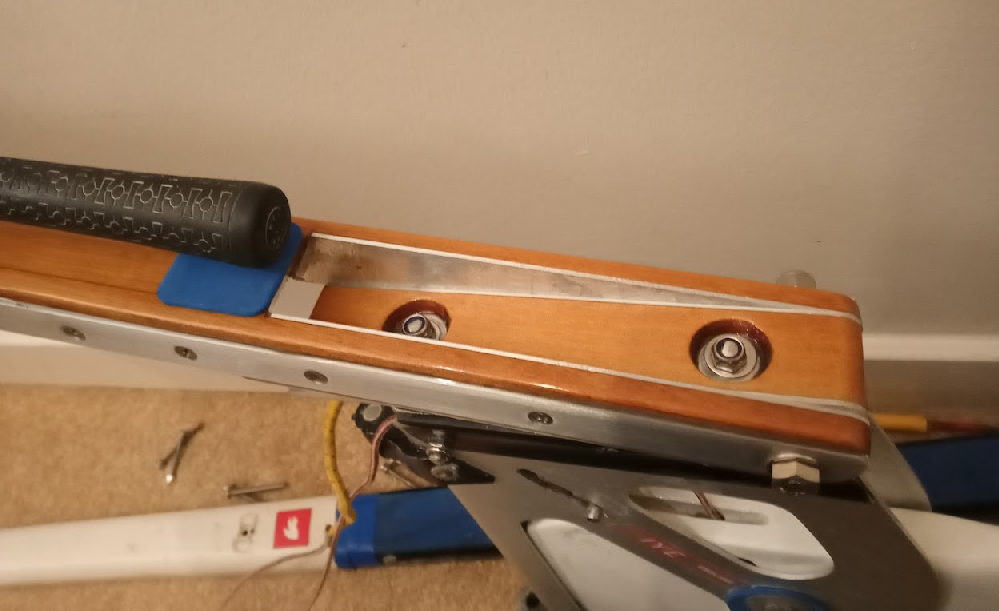
This is our
replacement tiller, our old aluminium one started to
get a bit worn and loose. While replacing it I decided
to make it so it lifts, so that I could open the rear
compartment at anchor without removing it. Not sure if
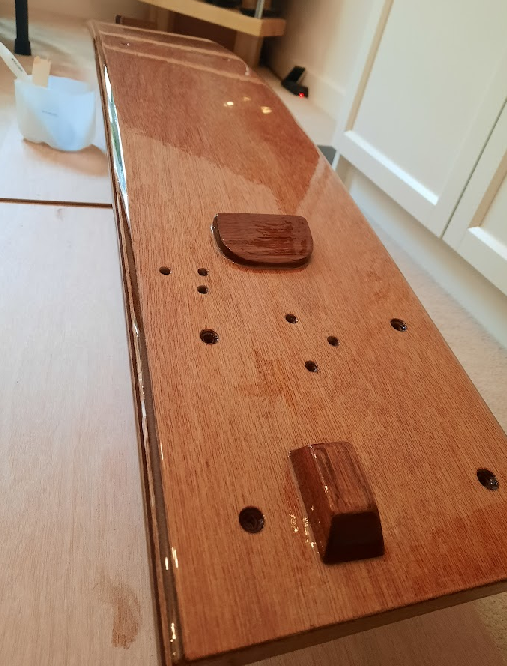
it's class legal or not but we mainly cruise. I
suppose that this would only work on boats with a
bridle at the rear instead of a traveller. As a
further improvement, I'm going to add a turning lock
on the top so no-one can lift it accidentally while
sailing. As with our thwart, 3 coats of epoxy finish
it off. |